Working with Aptos projects
Open an existing Aptos project
Go to File | Open and select the directory containing the root Move.toml file (or select Move.toml itself)
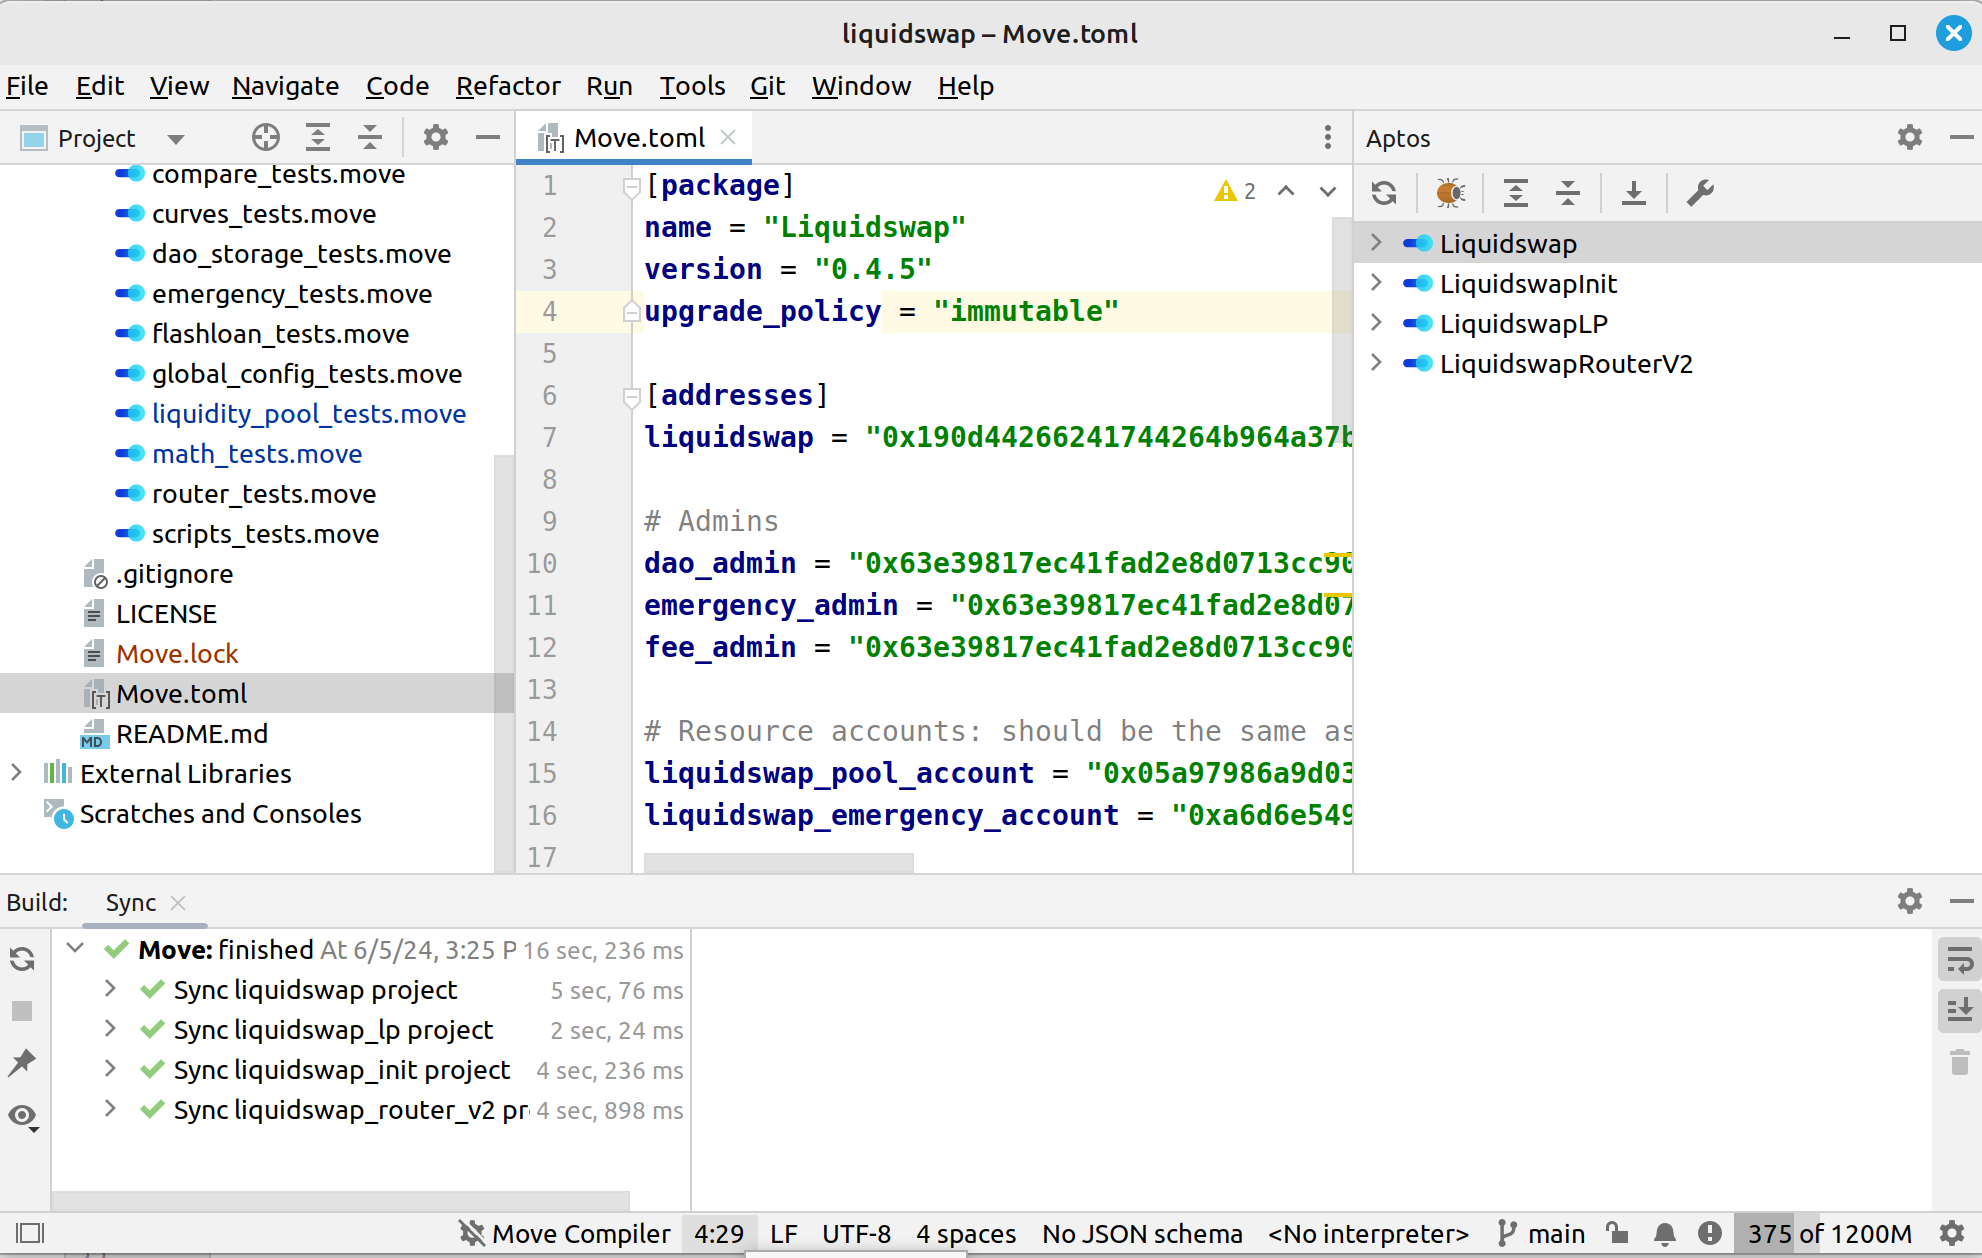
Check the Aptos tool window (View | Tool windows | Aptos) to make sure your project has been imported successfully:
Create new Aptos project
Go to File | New project... and select the Move project type under the Other section at the left side.

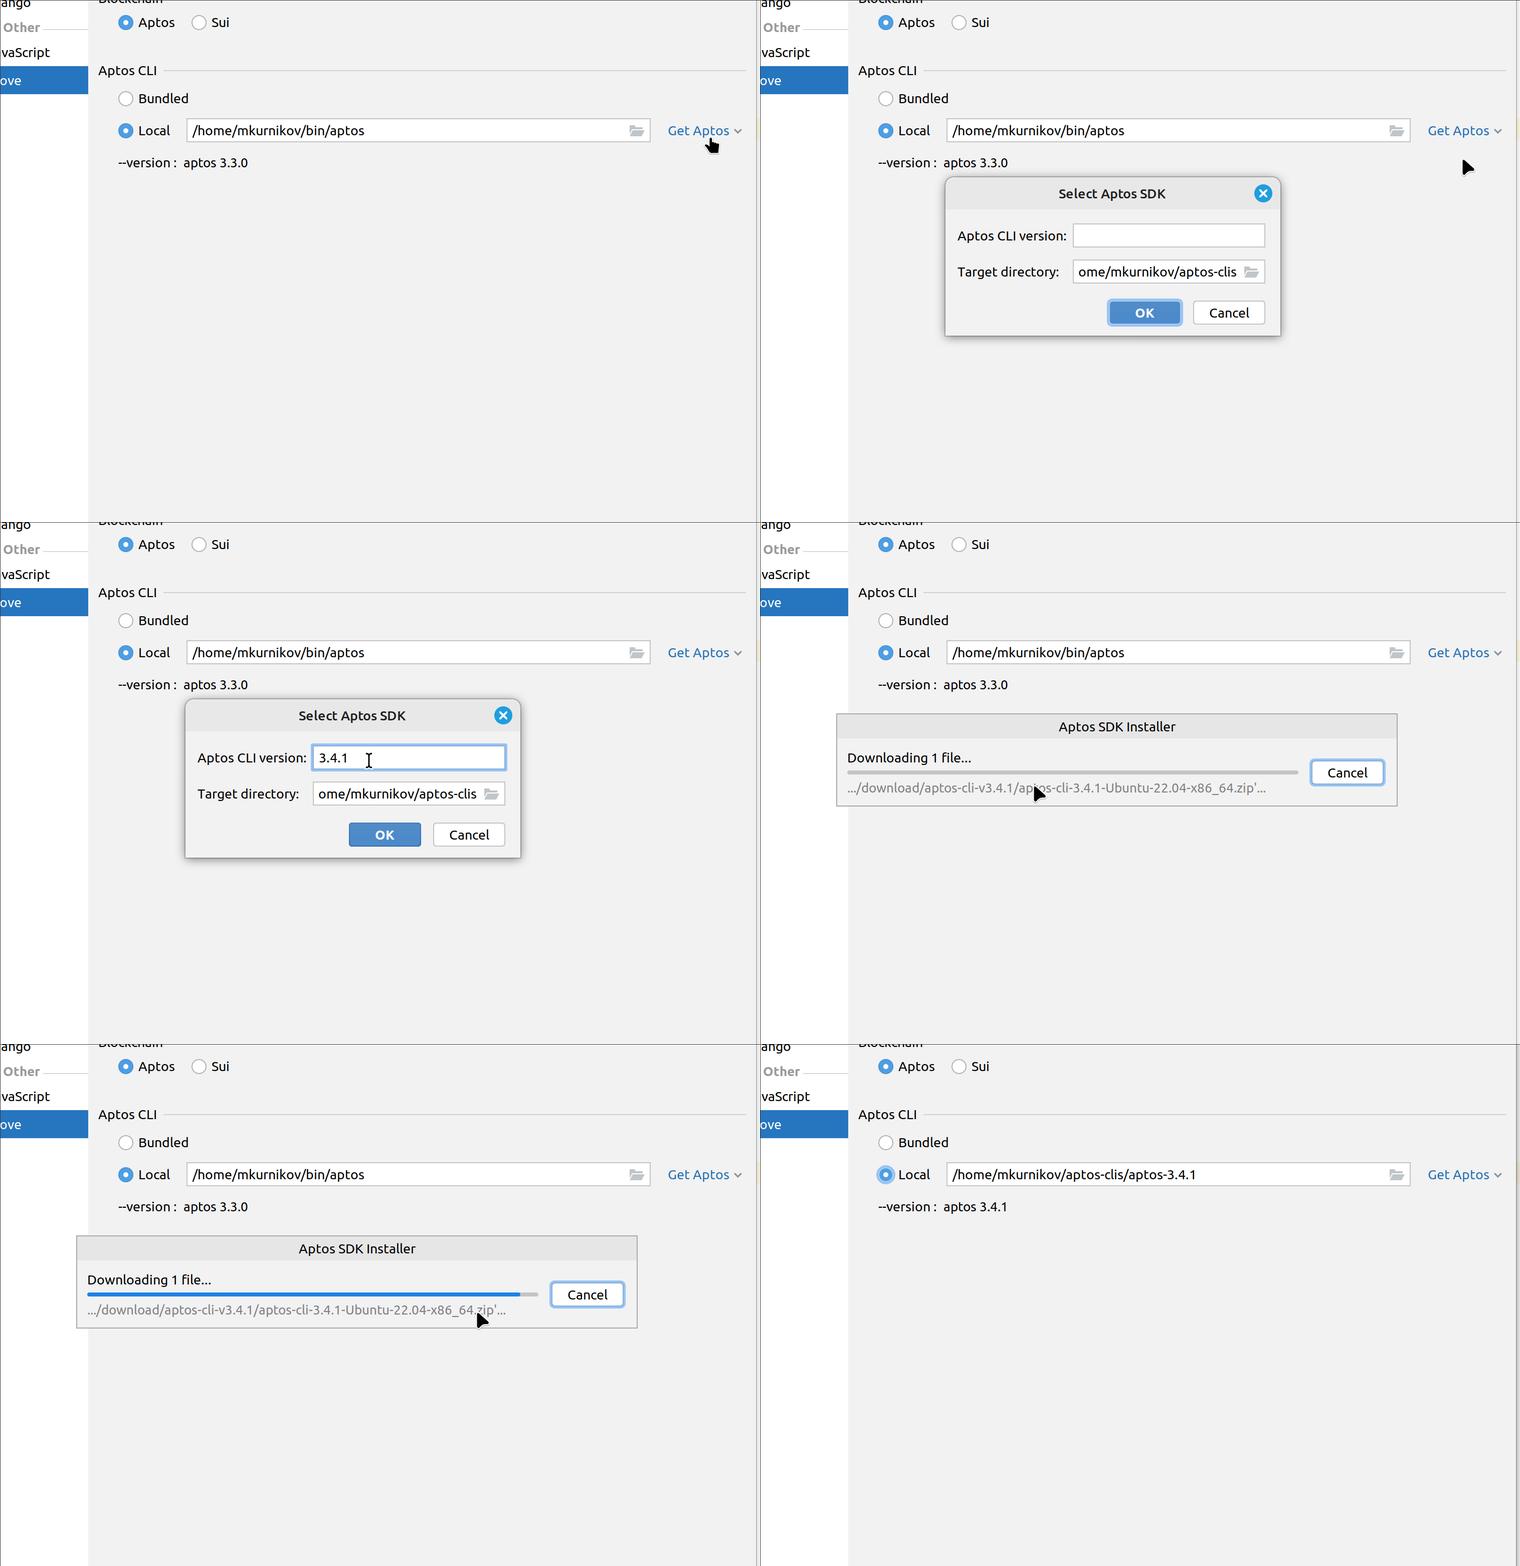
Choose project name and select Aptos CLI to use for the initialization process. Move on Aptos IDE plugin ships with the built-in Aptos CLI. If you wish to use the different version of the CLI, you can download it with the Get Aptos | Download pre-compiled binary from GitHub action link.
Project loading
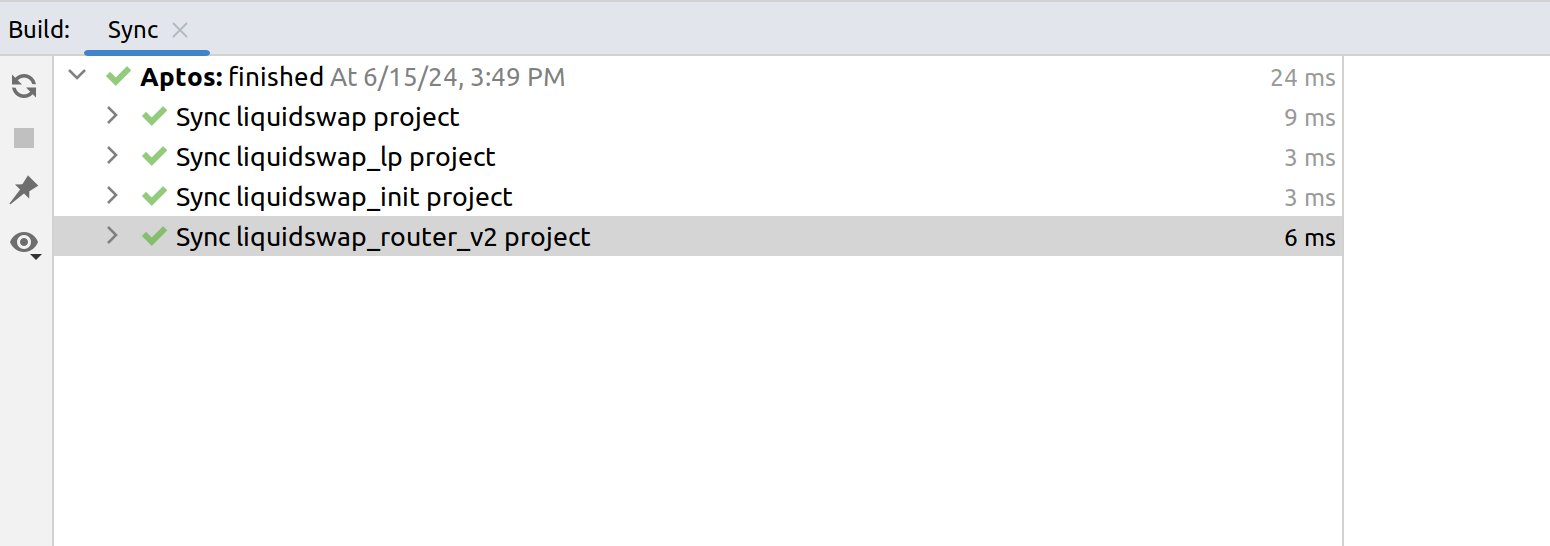
When you open or update an existing Aptos project, the plugin takes project information from the Move.toml files and opens the Build tool window (the Sync tab) to show the progress and result of project loading. Click to view all the steps:
Automatic reloading
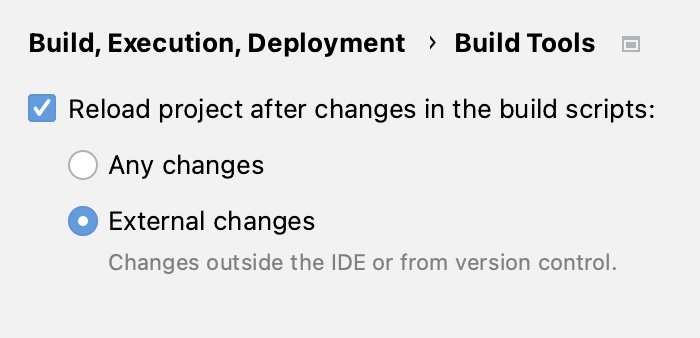
By default, Intellij Move reloads the project whenever you update Move.toml outside the IDE or through VCS. You can change that behaviour in Settings | Build, Execution, Deployment | Build Tools.
Manual reloading
If automatic reloading is partly/fully disabled, the IDE will still let you know whenever the model needs an update - the editor will display a button that you can use to quickly reload the model.
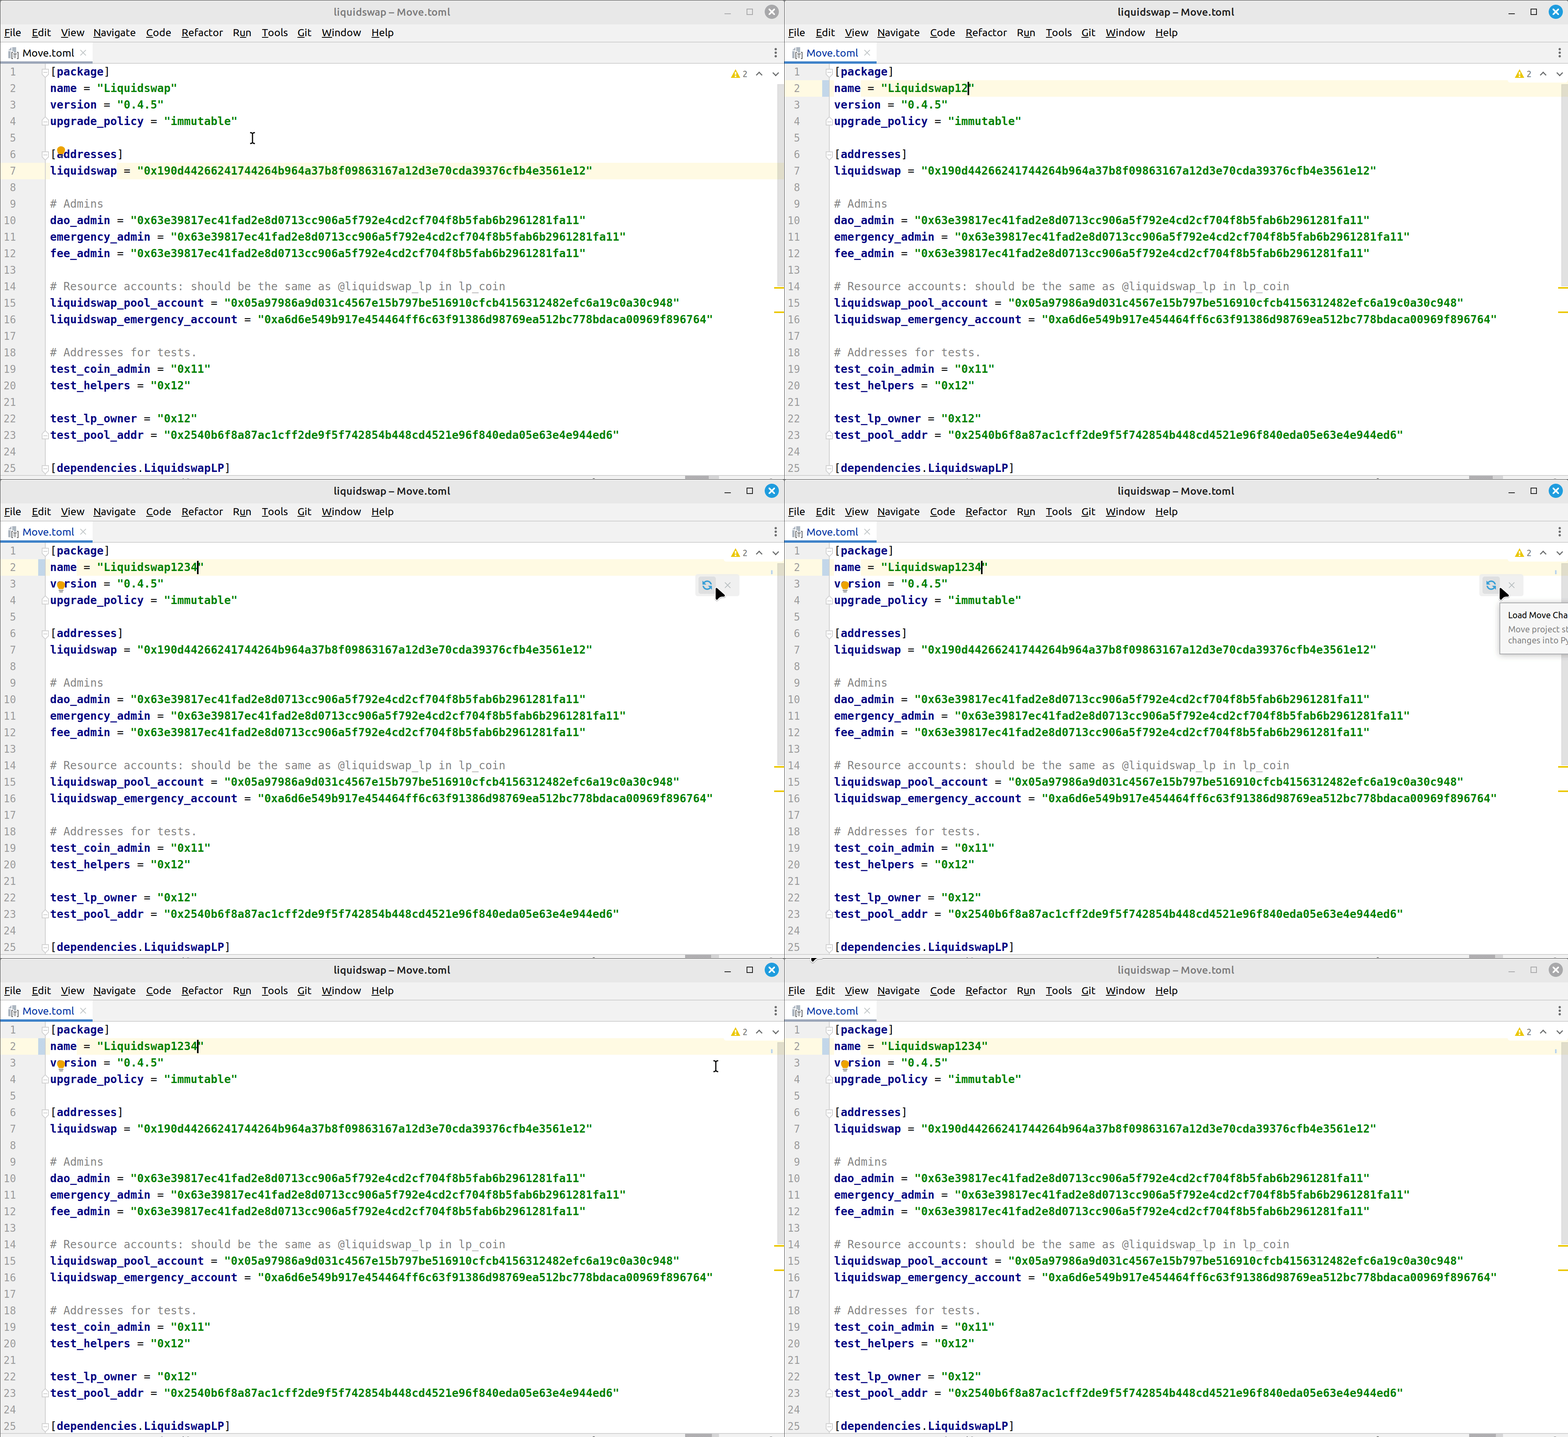
Alternatively, you can reload projects through the Aptos tool window (View | Tool Windows | Aptos) by clicking the in the toolbar.
